

Key Takeaways
- Start with the website's audience and page plan, then decide what each photograph needs to communicate.
- Include real people, working processes, places and useful details—not only portraits of staff looking at a camera.
- Plan desktop, mobile and social crops before the shoot. A beautiful image may still be unsuitable for the layout.
- Agree permissions, licences, confidentiality and delivery requirements in writing with the relevant people.
- Give every selected image a clear role, an organised filename and an appropriate accessibility treatment when it reaches the website.
A website photography brief should explain who the images are for, what they need to show, where they will appear and how the business is allowed to use them. It should also give the photographer enough practical information to plan the shoot without guessing.
For a UK service business, the most useful pictures often make the service feel understandable and credible. Customers can see the people they might speak to, the environment where work happens and the care involved in the process.
That does not require every image to be a team portrait. A thoughtful mix of people, activity and detail usually gives the designer more useful material than a large folder of almost identical desk photographs.
Explain the Business and the Audience
Begin with a short description of the business, its services and the customers the website is intended to help. Include the main questions or concerns those customers bring to the site.
A local professional practice may need to look approachable and organised. A specialist installer may need to show the quality of its working process. A digital consultancy may need images that make collaboration and problem-solving feel tangible.
Avoid broad mood words without examples. “Professional” can mean formal portraits to one person and a relaxed workshop scene to another. Describe the impression in practical terms and show a few references with notes about what you like.
Connect the brief to the wider brand identity. The photography should work with the colours, typography and tone already used by the business, without forcing every scene into an unnatural brand-coloured setting.
Map Images to Actual Pages
List the pages that need photographs and the job each image must do. A homepage hero introduces the business; a service image may explain a process; an about-page portrait helps a visitor recognise a person.
Ask the designer for rough layouts or image frames before the shoot. These do not need to be final, but they should show likely shapes, text positions and mobile behaviour.
| Page or placement | Image purpose | Briefing detail |
|---|---|---|
| Homepage hero | Introduce the business and atmosphere | Space for the intended headline and crop |
| Service page | Make the work understandable | A genuine task or customer interaction |
| About page | Show the people behind the service | Consistent, natural portraits |
| Case study | Demonstrate approved project work | Client permission and accurate context |
| Contact page | Help visitors recognise the location | Current, accessible approach or reception view |
This prevents a common problem: a successful shoot that produces attractive photographs but leaves the most important website spaces unfilled. Image planning belongs inside the website design process, not as an afterthought a day before launch.
Build a Shot List with Variety
Divide the list into people, process, place and detail. People shots can include individual portraits, a small team discussion and a natural client interaction where permission has been arranged.
Process shots show the work. That could mean checking a design, preparing equipment, reviewing a plan or explaining a service. Choose activities that are genuine and safe to photograph rather than asking staff to mime something unrelated.
Place shots establish context: the workspace, reception, workshop or local setting. Detail shots provide useful supporting material, such as tools, printed work, materials or hands carrying out a task.
For each shot, write its priority, participants, location and intended use. Mark the essential photographs separately from the nice-to-haves. If time or weather changes the plan, the photographer can protect the images the website actually needs.
Show Real Work Without Exposing Private Information
Prepare the location before the camera arrives. Check screens, whiteboards, paperwork, calendars and visible labels for personal or confidential information.
Use safe demonstration material where necessary, and label it appropriately if the final image could otherwise imply a real customer result. A mock dashboard should not be presented as evidence of genuine performance.
If a customer appears in the shoot, agree what is being photographed and where the images may be used. Staff should also understand the intended use and the business's arrangements for permissions. Get suitable advice where the legal basis or contractual position is unclear.
Do not assume that a general relationship with a client gives permission to photograph their premises, staff or confidential work. Build the approval into the schedule so it is resolved before the shoot rather than becoming an awkward discussion afterwards.
Plan Crops Before You Lose the Edges
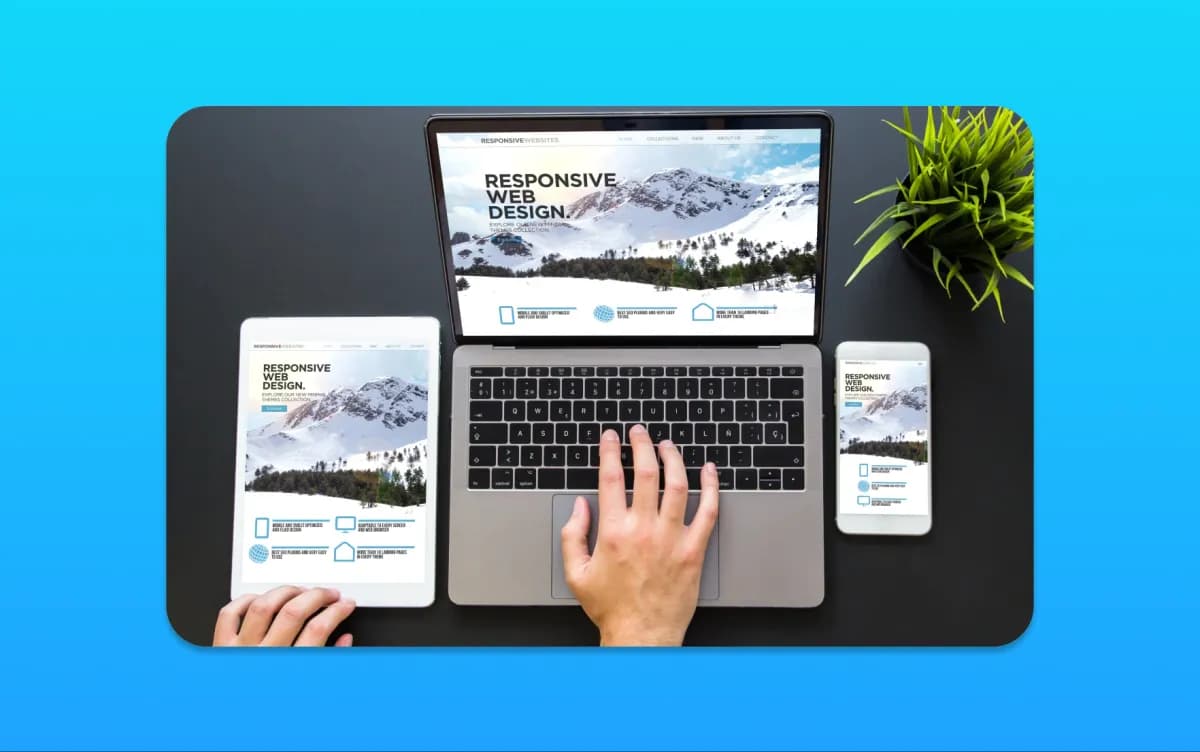
A wide hero, square profile picture and portrait social post need different compositions. One photograph may support several formats, but only if there is enough room around the subject.
Tell the photographer where text is likely to sit and which parts of the image must remain visible. If the website places a heading on the left, a face in that space may cause a problem. If mobile cropping centres the image, an important person at the edge may disappear.
Ask for both wider and tighter versions of priority scenes where practical. Keep faces, hands and key objects away from likely crop boundaries. Review a few frames in the intended layout during the shoot if the workflow allows it.
Do not add important wording directly into the photograph merely to solve a layout issue. Website text is usually easier to adapt, translate and make accessible when it remains actual text.
Agree a Visual Direction That Feels Believable
For a service business, consistency matters more than following a fashionable editing style. Decide how bright, warm, formal or candid the images should feel, then apply that direction across the set.
Include examples of what to avoid. Perhaps you do not want dark colour grading, staged handshakes, exaggerated expressions or an office that looks nothing like the real business. Those exclusions can be as helpful as a mood board.
Represent the actual team and customers respectfully. Do not use imagery to imply facilities, staff or capabilities the business does not have. Where stock or generated images are used for illustration, keep them distinct from documentary evidence of real work.
Our explanation of what a brand system includes shows how photography fits alongside other brand elements. A usable image direction helps future shoots remain coherent without making every picture identical.
Put Usage Rights in the Brief
Discuss where the photographs will be used: the website, organic social posts, paid advertising, printed materials or third-party publications. Agree the relevant duration, territory, editing rights and any restrictions in the contract or licence.
Do not assume that paying for a shoot automatically gives unrestricted ownership. The UK Intellectual Property Office's guidance on photographs and copyright explains why permission and ownership need attention.
Clarify whether the photographer may use the images in their own portfolio, particularly where client confidentiality is involved. Agree how image credits should be handled if required.
Our brand handover guide covers the broader issue of receiving assets with usable rights. For photography, retain the agreement alongside the approved files so a future designer does not have to guess what is permitted.
Specify Delivery Without Overcomplicating It
Agree how many selected images are expected, what retouching includes and how the selection process works. Distinguish proofs from final approved files.
Ask for suitable high-resolution masters and a clear folder structure. The website team can prepare optimised derivatives for the actual layouts, rather than uploading every full-size original unchanged.
Use filenames or a manifest that identify the subject and intended role. A folder containing hundreds of files called “final-final-2” is difficult to maintain. Keep a record of any restrictions or permissions associated with particular images.
Clarify whether raw files are included rather than assuming they are. More files are not always more useful; a well-organised final selection with clear rights and enough resolution is the practical objective.
Include Accessibility in the Handover
The person adding the photographs to the website needs to know what each image communicates. That context helps them choose an appropriate text alternative.
The W3C images tutorial distinguishes informative, decorative and functional images. An informative image needs a useful alternative; a purely decorative image may need an empty one. The correct treatment depends on the image's role on that page, not just its filename.
Do not stuff location or service keywords into every description. Describe relevant information naturally. If the image is a link or button, its accessible treatment should explain the function rather than merely the appearance.
Check contrast where text sits over photography and test the layout at mobile sizes. The photograph, crop and text treatment need to work together.
A Brief You Can Hand Over
Bring the essentials into one document: business context, audience, page map, visual direction, prioritised shot list, practical schedule, permissions, usage rights and delivery specification.
Add a named decision-maker for the day and explain how the final selection will be approved. Share the brief with both photographer and website designer so neither has to infer the other's requirements.
For a small business, a focused shoot covering the right scenes is often more useful than an ambitious list with no page plan. Start by identifying the five images the website cannot do without. Then use your brand guidelines to make the supporting set feel like the same business.
Frequently Asked Questions
How many photographs does a service-business website need?
There is no universal number. Start with the page plan and identify the essential roles: introduction, services, people, process and contact context. Prioritise a useful variety over a large quantity of similar images.
Should we design the website before the photography shoot?
You do not need a finished design, but rough layouts and image dimensions help. They show the photographer where text and crops will sit and reduce the risk of missing an essential composition.
Do we own photographs because we paid for the shoot?
Not automatically. Ownership and permitted use depend on the relevant agreement and legal position. Clarify the licence, usage channels, editing permissions and restrictions with the photographer before publication.
Can one image work for the website and social media?
Sometimes, if it has enough space for different crops. Brief landscape, square and portrait requirements in advance, and ask for alternative compositions of important scenes where practical.
What should image alt text say?
It should communicate the information or function relevant to the image's use on the page. Decorative images may need an empty alternative. Avoid keyword stuffing and give the website editor context about what each selected photograph is meant to show.